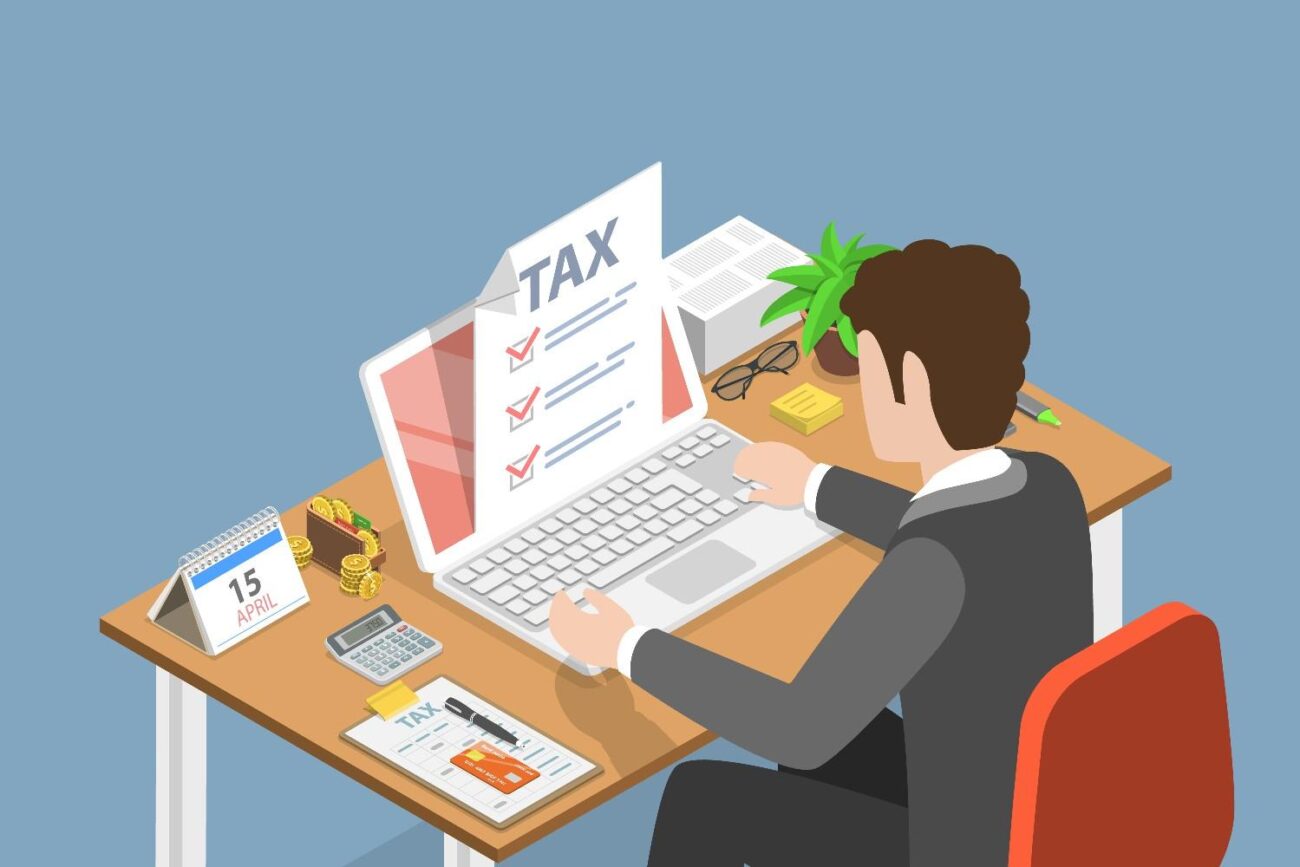
If you’re filing your income taxes for the first time, it may seem difficult. The process may appear complicated when you have to understand forms, due dates, and online websites. The good news is that India’s digital system has made filing income taxes quicker and easier.
You can file your income tax return online with confidence and stay clear of common mistakes by following this guide, which will take you through every step of the process.
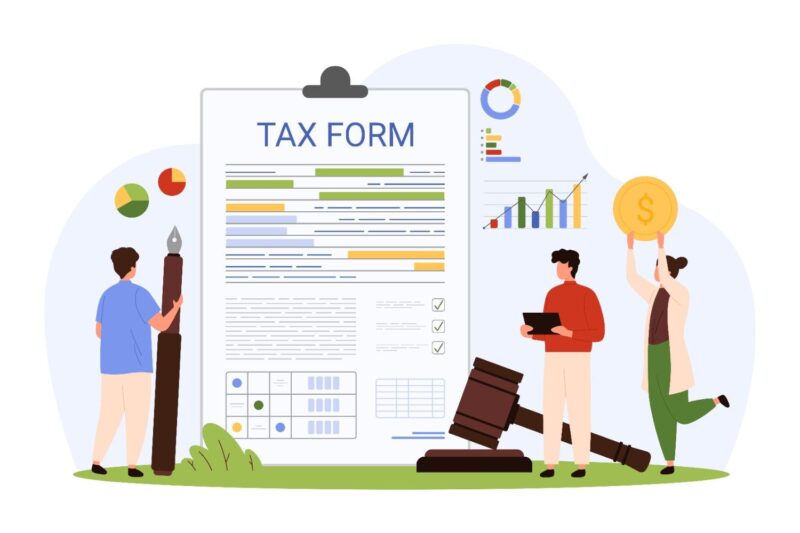
Why Income Tax Filing Is Important
It’s critical to understand the importance of income tax filing before beginning the process.
In addition to being demanded by law, filing your taxes every year is a vital part of money management. Sending in your return benefits you:
- Prevent fines for failure to submit.
- Get your eligible refunds.
- Keep precise financial records.
Boost your financial rating, particularly when asking for a loan or a visa.
If you’re planning your finances for tax season, consider managing unexpected expenses with a personal loan from Olyv.
Step 1 – Gather the Required Documents
Gather all the required documentation before you begin filing on the internet. Having these nearby lowers errors and saves time.
Usually, you’ll need the following:
- PAN card
- Aadhaar card
- Form 16 (issued by your employer)
- Bank statements
- Form 26AS (tax credit statement)
- Details of investments (like ELSS, PPF, LIC)
- Interest certificates from banks or post offices
After you have all of it, double-check your information. Your return may be rejected if there is even a small difference between your Aadhaar or PAN information.
In case you need quick funds while waiting for your tax refund, an instant personal loan from Olyv can provide immediate financial support.
Step 2 – Choose the Correct ITR Form
Choosing a suitable form is the next stage in the income tax filing process. Depending on your income type, the Income Tax Department offers a variety of forms.
Here’s a quick summary:
- ITR-1 (Sahaj) – For people who are salaried and make up to ₹50 lakh
- ITR-2 – For people who make money from capital gains, properties, or earnings
- ITR-3: For professionals or people who make money from their businesses
- Under the presumptive income scheme, small business owners must file ITR-4 (Sugam).
The majority of salaried workers use ITR-1, but make sure before filing.
Step 3 – Log in to the Income Tax Portal
Visit the official government website,
- Click ‘Login’ and enter your PAN (which acts as your user ID)
- To sign in, enter your captcha and password.
- To create an account if you don’t already have one, click “Register” and follow the on-screen directions.
- After signing in, you’ll see a simple screen that walks you through each step.
Step 4 – Choose the Assessment Year
Select the Assessment Year (AY) for the tax return that has been filed. For example, your assessment year will be 2025–2026 if you are filing in 2025 for income earned between April 2024 and March 2025.
Making the right year choice promises that your taxes are calculated for the appropriate time period.
Step 5 – Fill in Your Income Details
The most important step now is to enter your income information.
- You can manually enter your salary income or upload Form 16.
- Add in extra income from sources like rent or interest from savings accounts.
- Any Section 80C expenses (such as PPF, ELSS, or life insurance premiums) should be mentioned.
- Examine your Form 26AS TDS (Tax Deducted at Source) information.
Although the portal usually pre-fills some information, always carefully review it before proceeding.
Step 6 – Claim Deductions and Exemptions
One of the biggest benefits of income tax filing is the opportunity to reduce your tax liability legally.
Some common deductions include:
- Section 80C: Investments in ELSS, PPF, or life insurance
- Section 80D: Health insurance premiums
- Section 80E: Education loan interest
- Section 24(b): Home loan interest
These deductions can significantly reduce your taxable income and help you save money.
Step 7 – Verify and Submit Your Return
Check your form carefully after entering all the information. Additionally, the system will tell you whether you qualify for a tax refund or if you must pay more money in taxes.
Once all the information has been confirmed,
- Click ‘Submit Return’.
- Choose your verification method — you can use: Aadhaar OTP, Net banking, Electronic verification code (EVC), Physical verification (by sending a signed ITR-V to CPC Bengaluru)
Until it is verified, your filing is not complete.
Step 8 – Keep a Copy for Your Records
Download your ITR-V (Acknowledgement) once your submission becomes successful. Save the hard copy and the soft copy for future use. They might be needed when you apply for loans, visas, or if you later have any issues with taxes.
Step 9 – Track Your Return Status
You can use the same portal to track the status of your tax return after it has been submitted.
- Open your account and log in.
- Select “View Filed Returns.”
- Make sure whether your return has been processed, is pending, or has been verified.
After the return is processed, the money will be credited to the bank account you have linked if you are qualified for a refund.
With Olyv’s simple digital process, you can easily explore flexible loan options and better manage your financial goals.
Conclusion
Filing income taxes online should not requirement to be challenging or confusing. With a little planning, appropriate documentation, and a solid understanding of the steps, anyone can complete the process with comfort. It’s essential to stay organised, double-check your information, and store priorino advance. Once you get used to it, filing your income taxes becomes just another simple part of your yearly financial routine, which helps you maintain respect and financial responsibility.